
If you're looking for easy Christmas nail ideas to do yourself, maybe on the couch while watching a holiday movie, you've come to the right place. Don't panic: you don't need to be a nail art expert. With a little patience and the right colors, you can achieve a really cute manicure without leaving home (and without spending too much).
The holiday season is perfect for treating yourself to some me-time, and taking care of your nails is a simple way to immediately feel more in the Christmas mood. Whether you have short, long, round, or square nails... here you'll find DIY Christmas nail decorations that you can try without difficulty.
In short: get ready to transform your hands into festive little details to show off during dinners, cocktails, and why not, even while wrapping gifts.
Why Do Your Own Christmas Nails
Before diving into the actual ideas, it's worth remembering why doing Christmas nails yourself can be a smart choice.
They're economical (the salon can wait), they're relaxing to do, and above all, they're satisfying. Seeing the final result on your hands... well, it always feels great. Plus, you can customize everything according to your style: colors, glitter, details, shapes.
"Simple" doesn't mean "boring": it just means you don't need expensive tools or artistic skills. An easy manicure can still be super sparkly and perfect for the holiday season.
Basic Tools for Creating Simple Christmas Nails at Home
Before starting, you need a couple of essential tools. Nothing complicated, in fact you probably already have many of these items.
Nail Preparation
- Nail file (preferably not too aggressive)
- Buffer to smooth the surface
- Cuticle pusher in wood or plastic
- Cuticle oil
Base and Finish
- Base coat (essential, really)
- Glossy top coat to seal and add shine
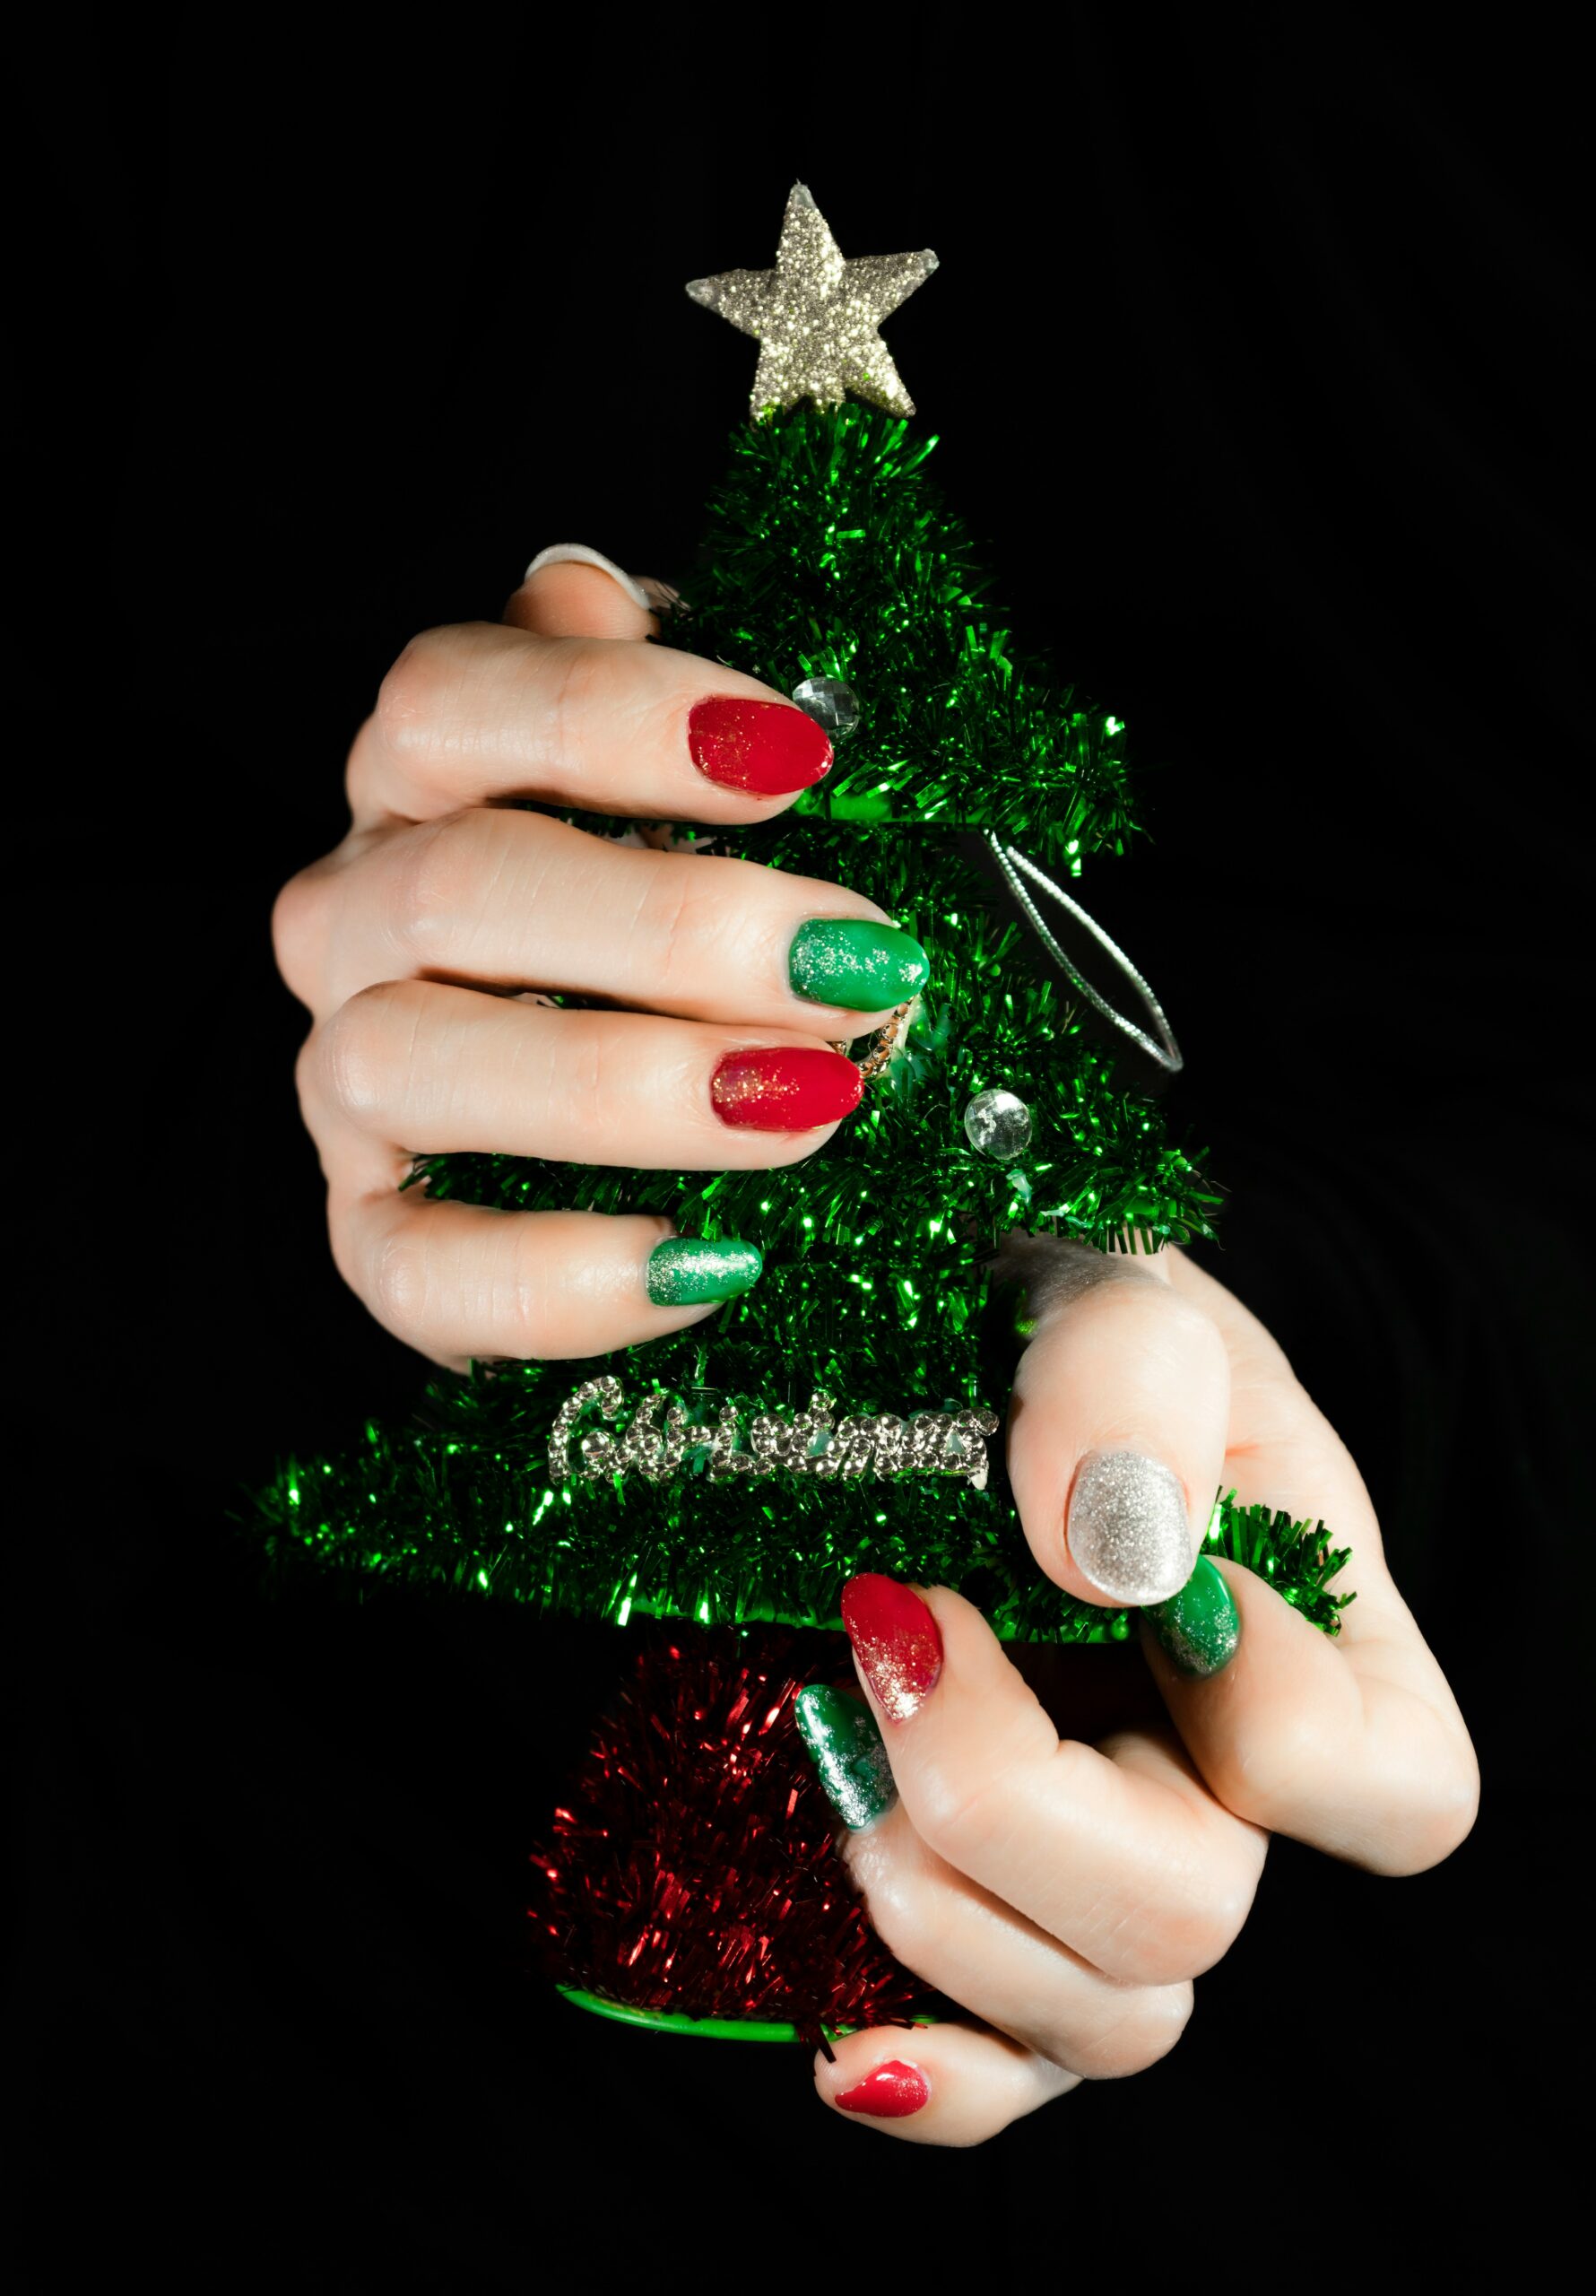
Essential Christmas Colors
- Red, burgundy
- White/vanilla
- Nude
- Gold or silver glitter
- Forest green (if you like the classic mood)
Decorating Tools
- Dotting tool or toothpick
- Thin brush
- Christmas stickers and decals
- Rhinestones or micro-beads (optional but cute)
Bonus to Make Your Life Easier
- Gel nail polish - for a manicure that lasts all holiday season
- Adhesive foils - to create metallic effects without painting
- Christmas stickers – perfect if you don't feel confident with the brush
How to Prepare Your Nails: The Most Important Step
Preparation is often underestimated, but it's what really makes the difference in the durability of your manicure.
Step-by-Step
1. Hygiene
Wash and dry your hands thoroughly.
2. Remove Old Polish
With acetone or acetone-free remover.
3. Filing
Shape your nails: square or oval if you're a beginner.
4. Buffer
Gently buff the surface.
5. Cuticles
Gently push them back.
6. Degrease
Some alcohol on a cotton pad.
7. Dry
Before applying polish, everything must be perfectly dry. This is crucial for the manicure to last!
7 Simple Christmas Nail Ideas to Do Yourself
And now the most fun part: ideas to try! Here you'll find some of the easiest DIY Christmas nail decorations to try at home, ordered from simplest to those requiring a bit more steady hand. Nothing impossible, I promise.
Idea 1: Classic Red Lacquer (Level: Very Easy)
When in doubt, red always saves you. It's the quintessential Christmas color: elegant, warm, festive... and it suits practically everyone.
How to Do It:
- Apply base coat on all nails.
- Apply the first layer of red polish (don't worry if it doesn't cover everything).
- Let it dry well for 5-10 minutes.
- Apply the second coat to even out the color.
- Seal everything with a good top coat.
Extra Variation: a touch of gold glitter only on the ring finger to add brightness without complicating the design.
Tip: go slow with brush strokes, don't try to cover everything at once. The layers will do the work for you.

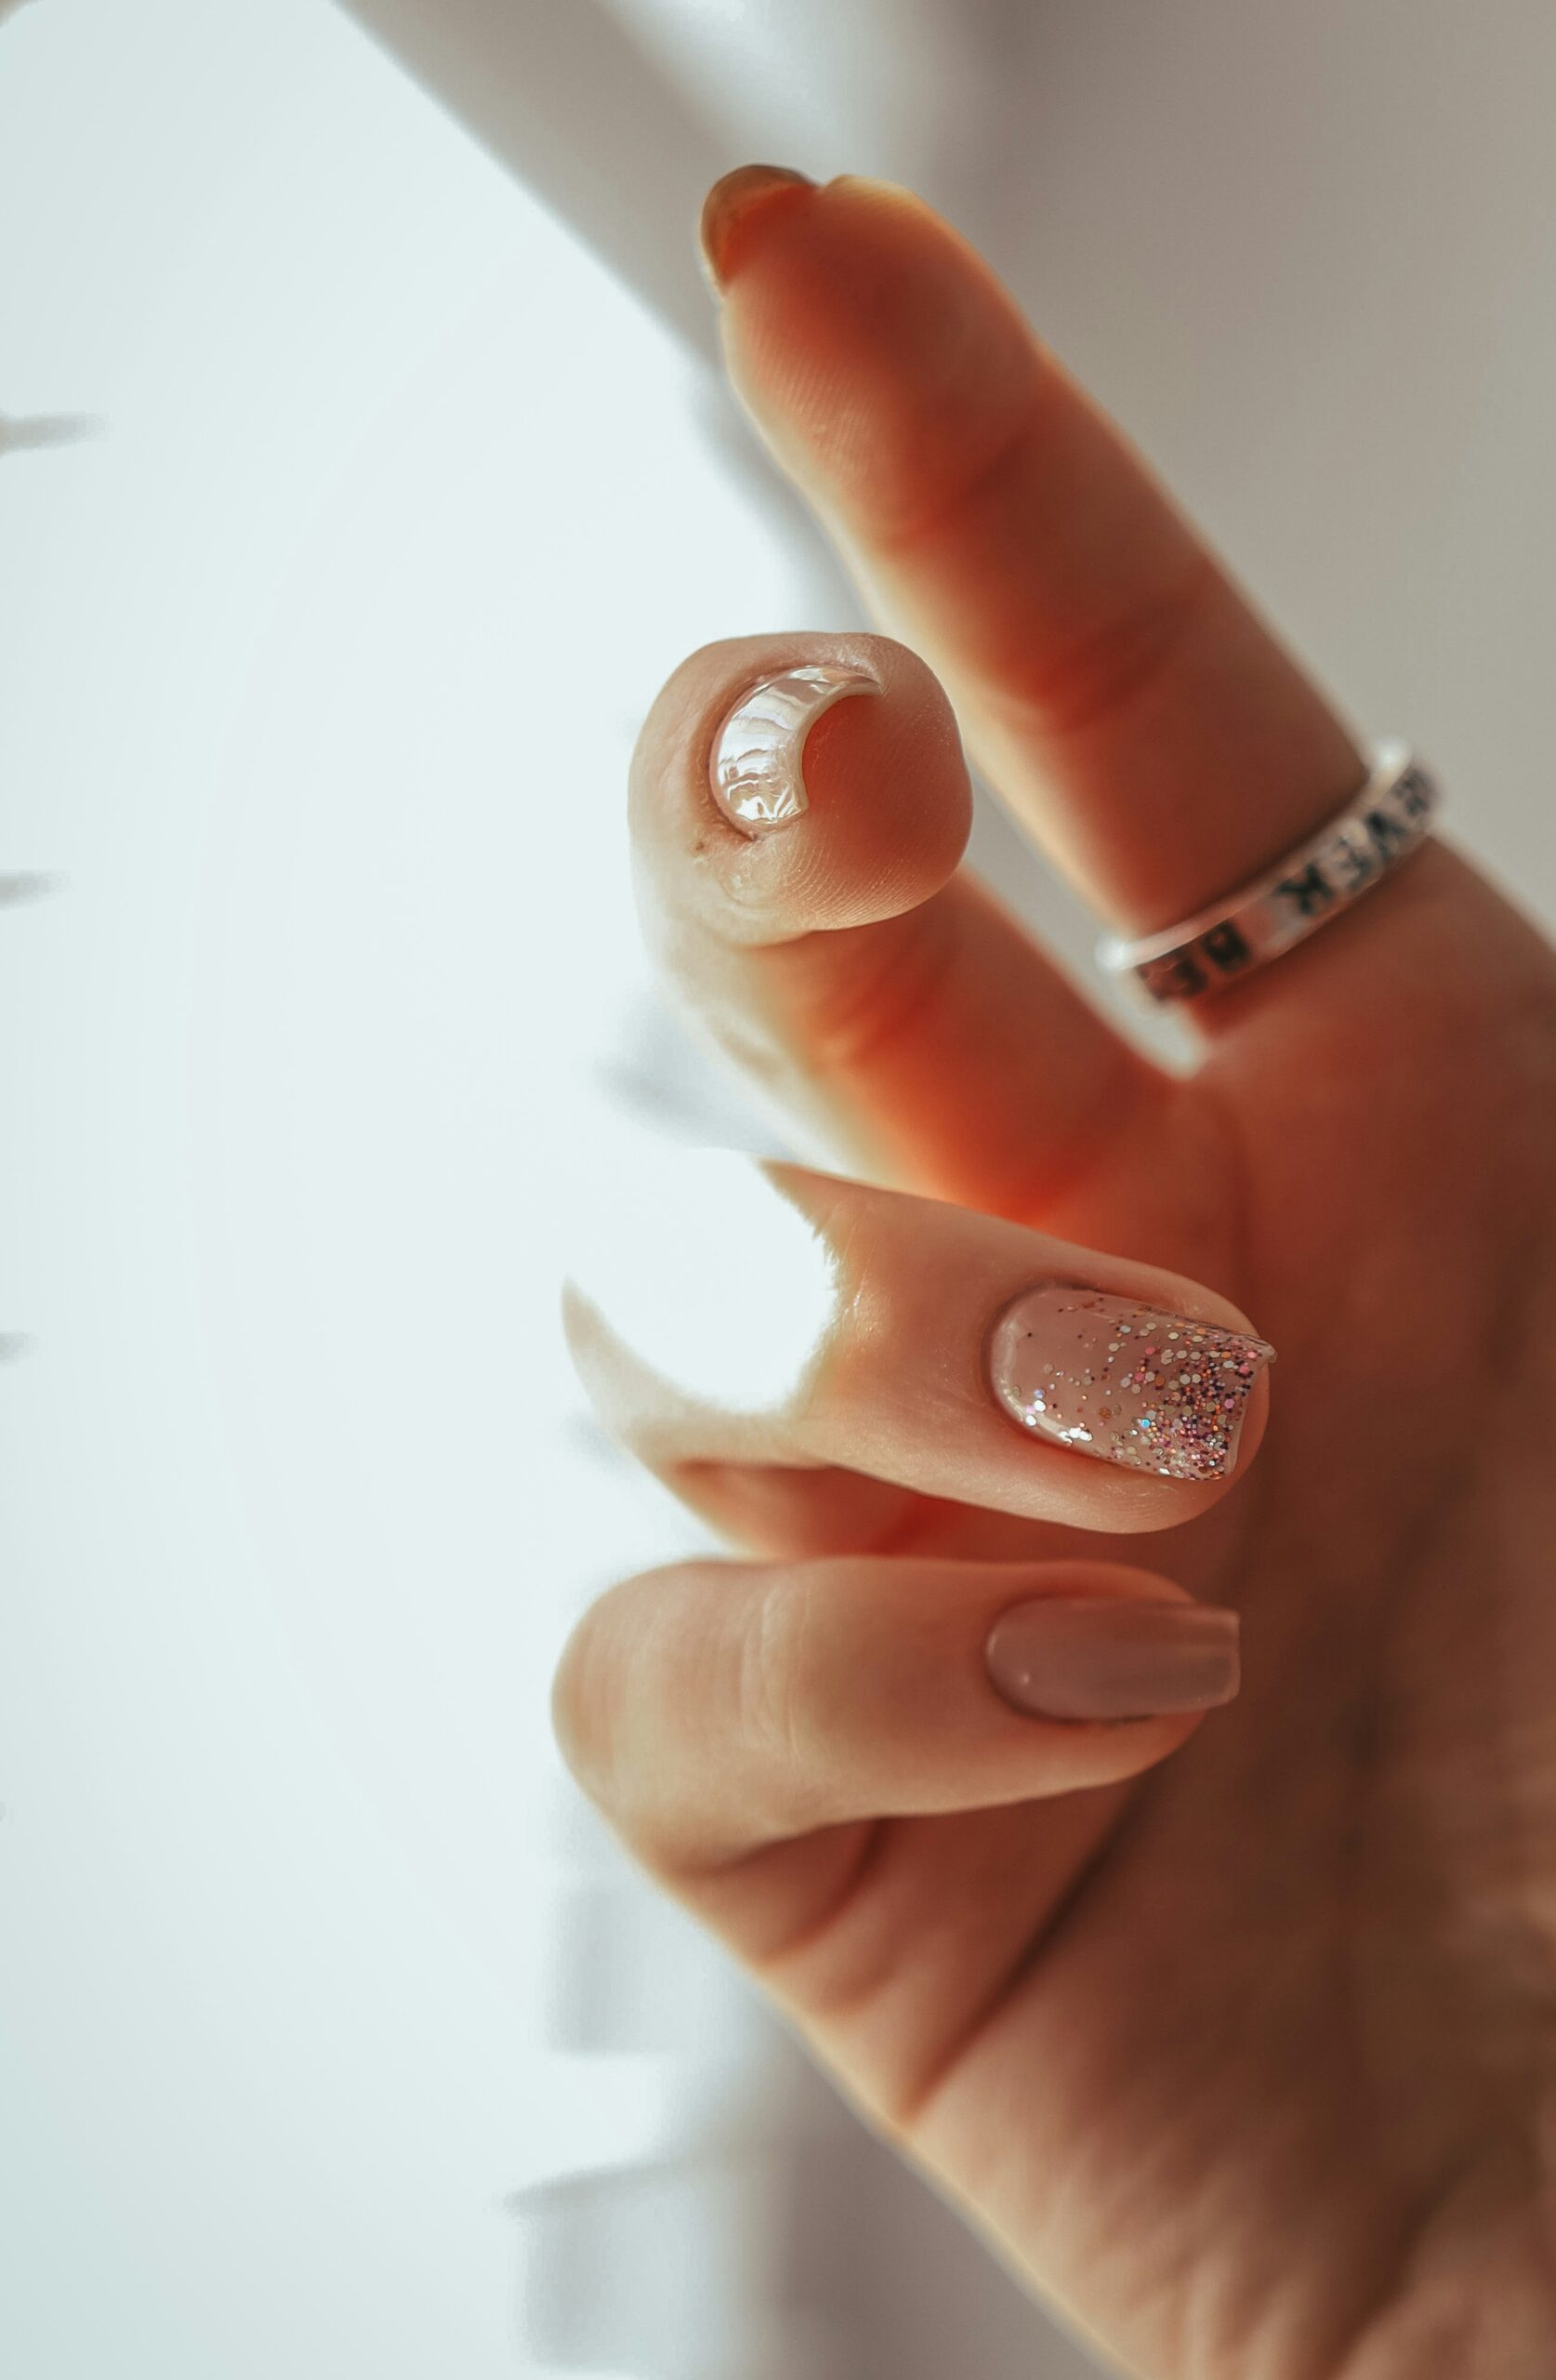
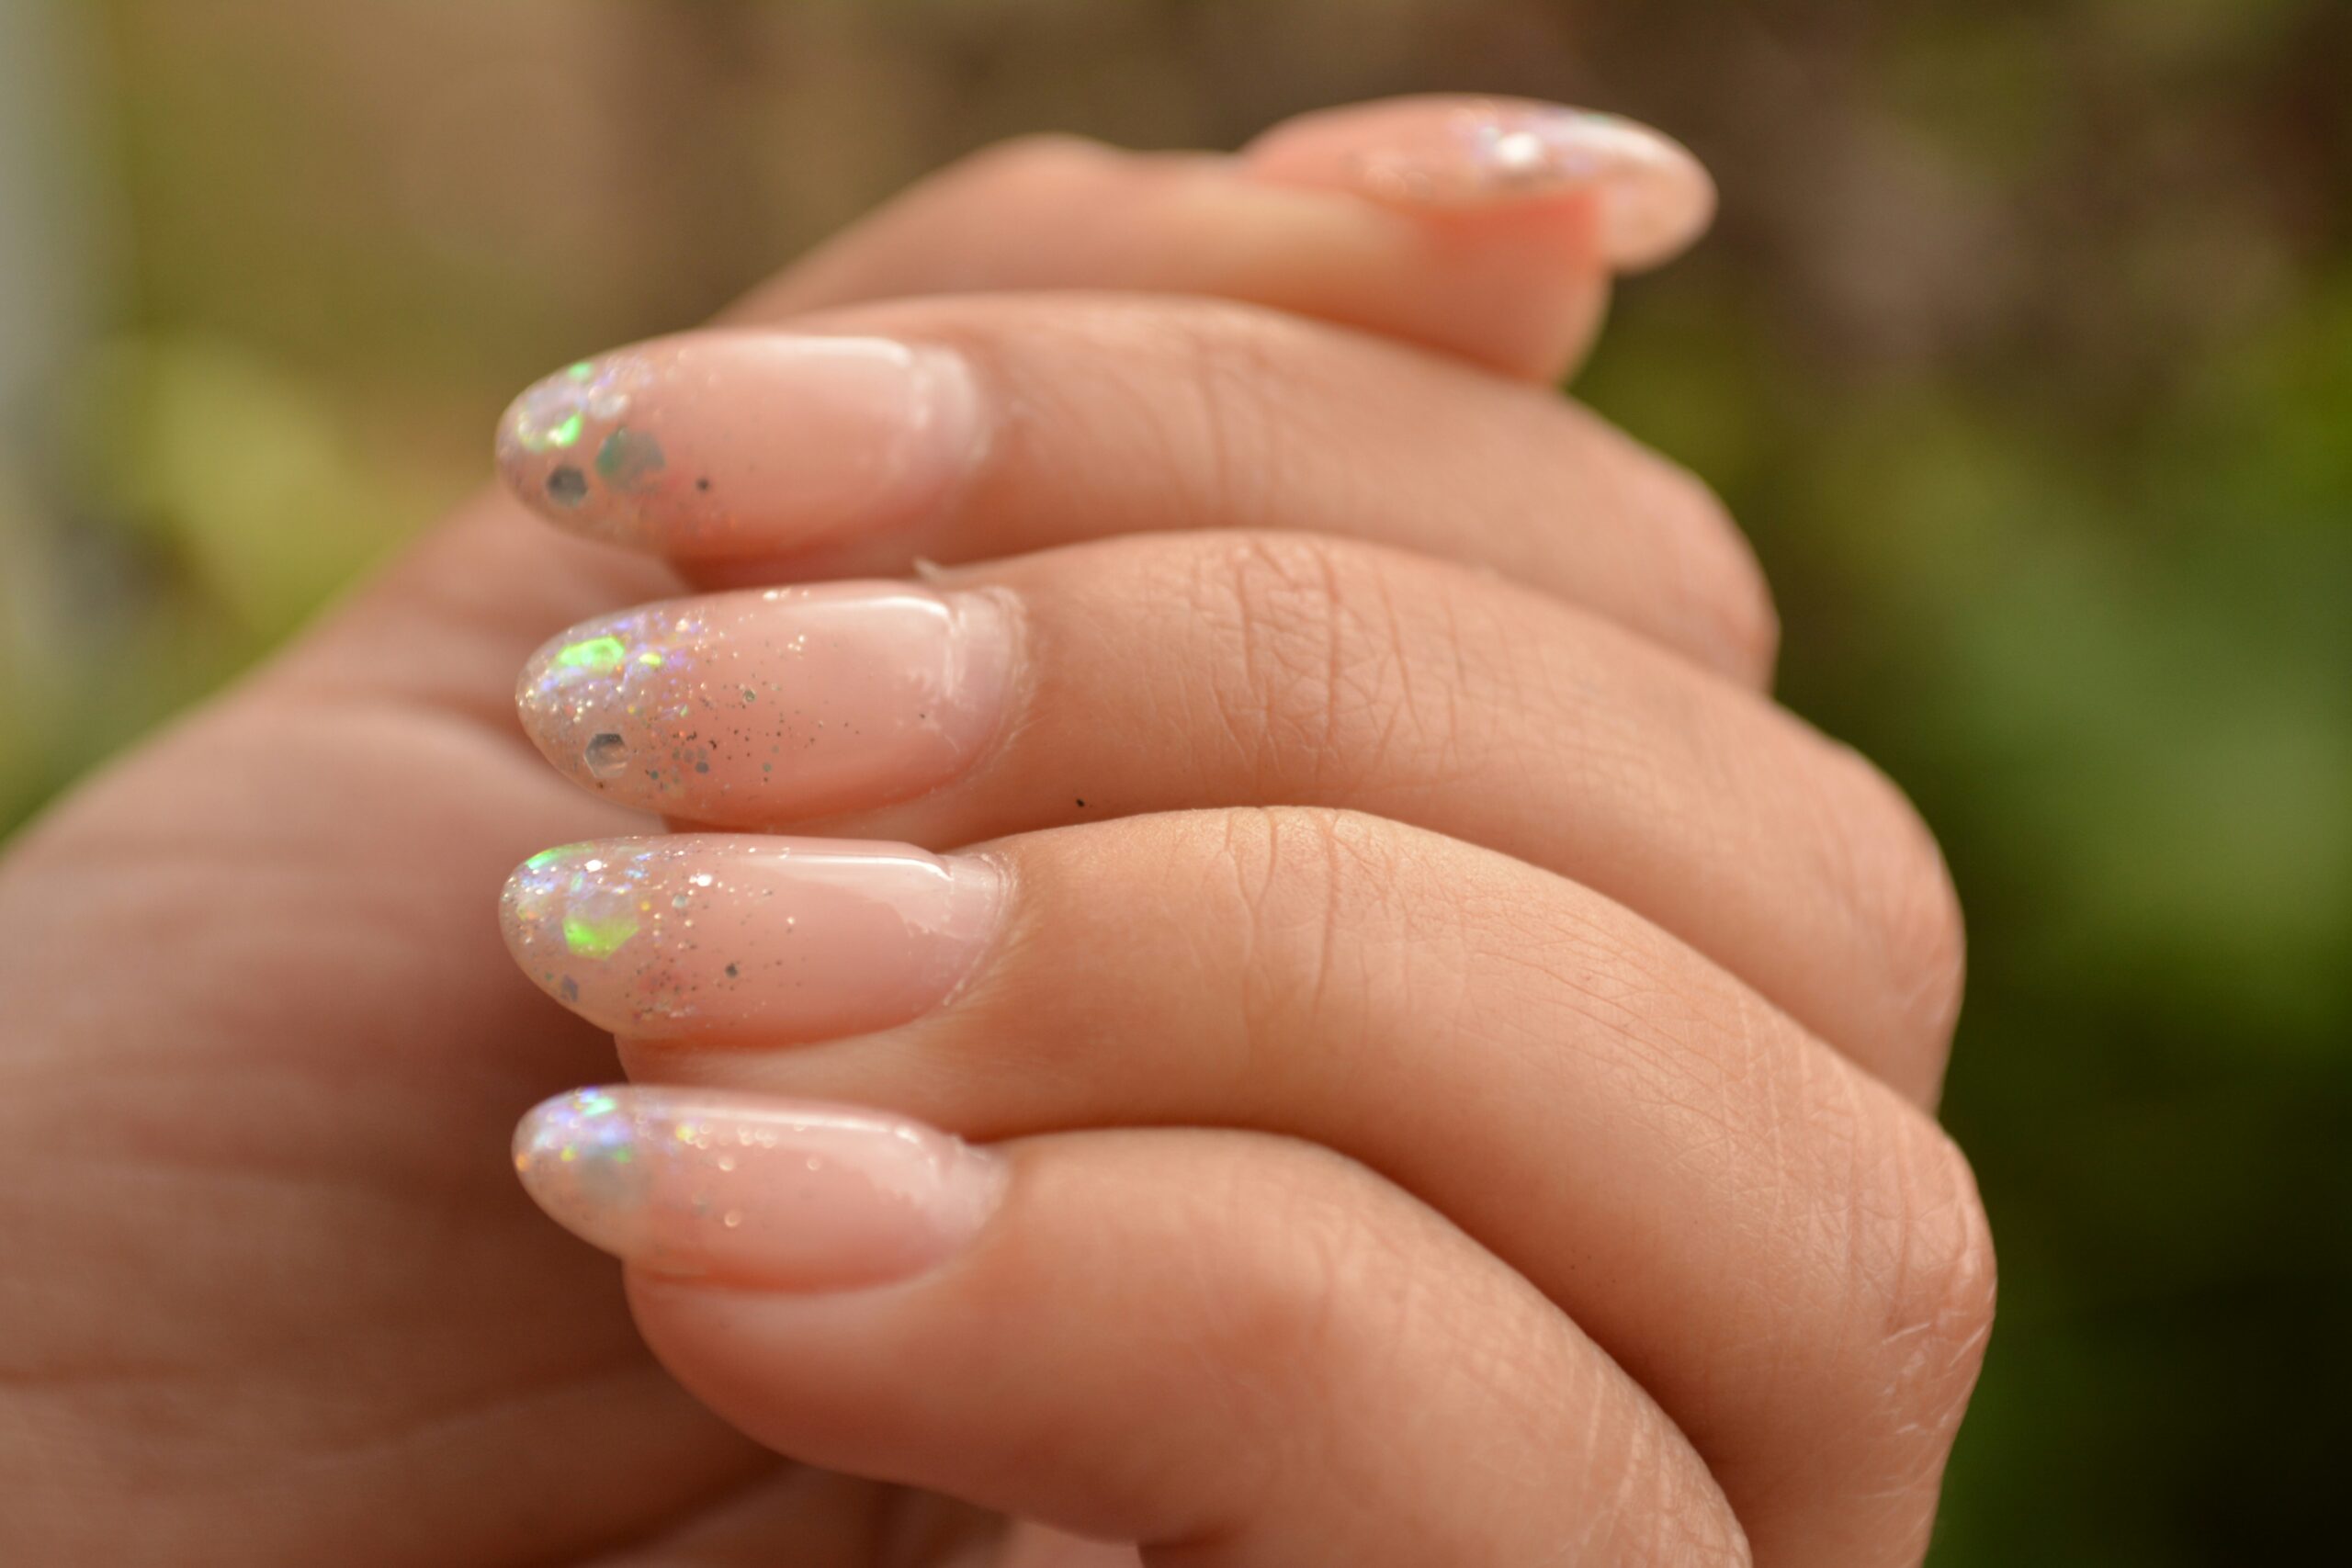
Idea 2: Nude with Accent Glitter (Level: Easy)
If you want an elegant look without too much fuss, this is the perfect choice. A glittery nail (usually the ring finger) immediately gives a sophisticated air but remains super simple.
How to Do It:
- Apply base coat.
- Two coats of nude or vanilla.
- On the ring finger, apply gold, silver, or rose gold glitter polish.
- Seal everything with top coat.
Variations to Try:
- Glitter on two fingers (ring finger + middle).
- Ombré effect: more glitter on the tip, less toward the base.
- Nude + white glitter for a "snow" effect.
Why It Works: zero artistic skills required, but the result looks salon-worthy.
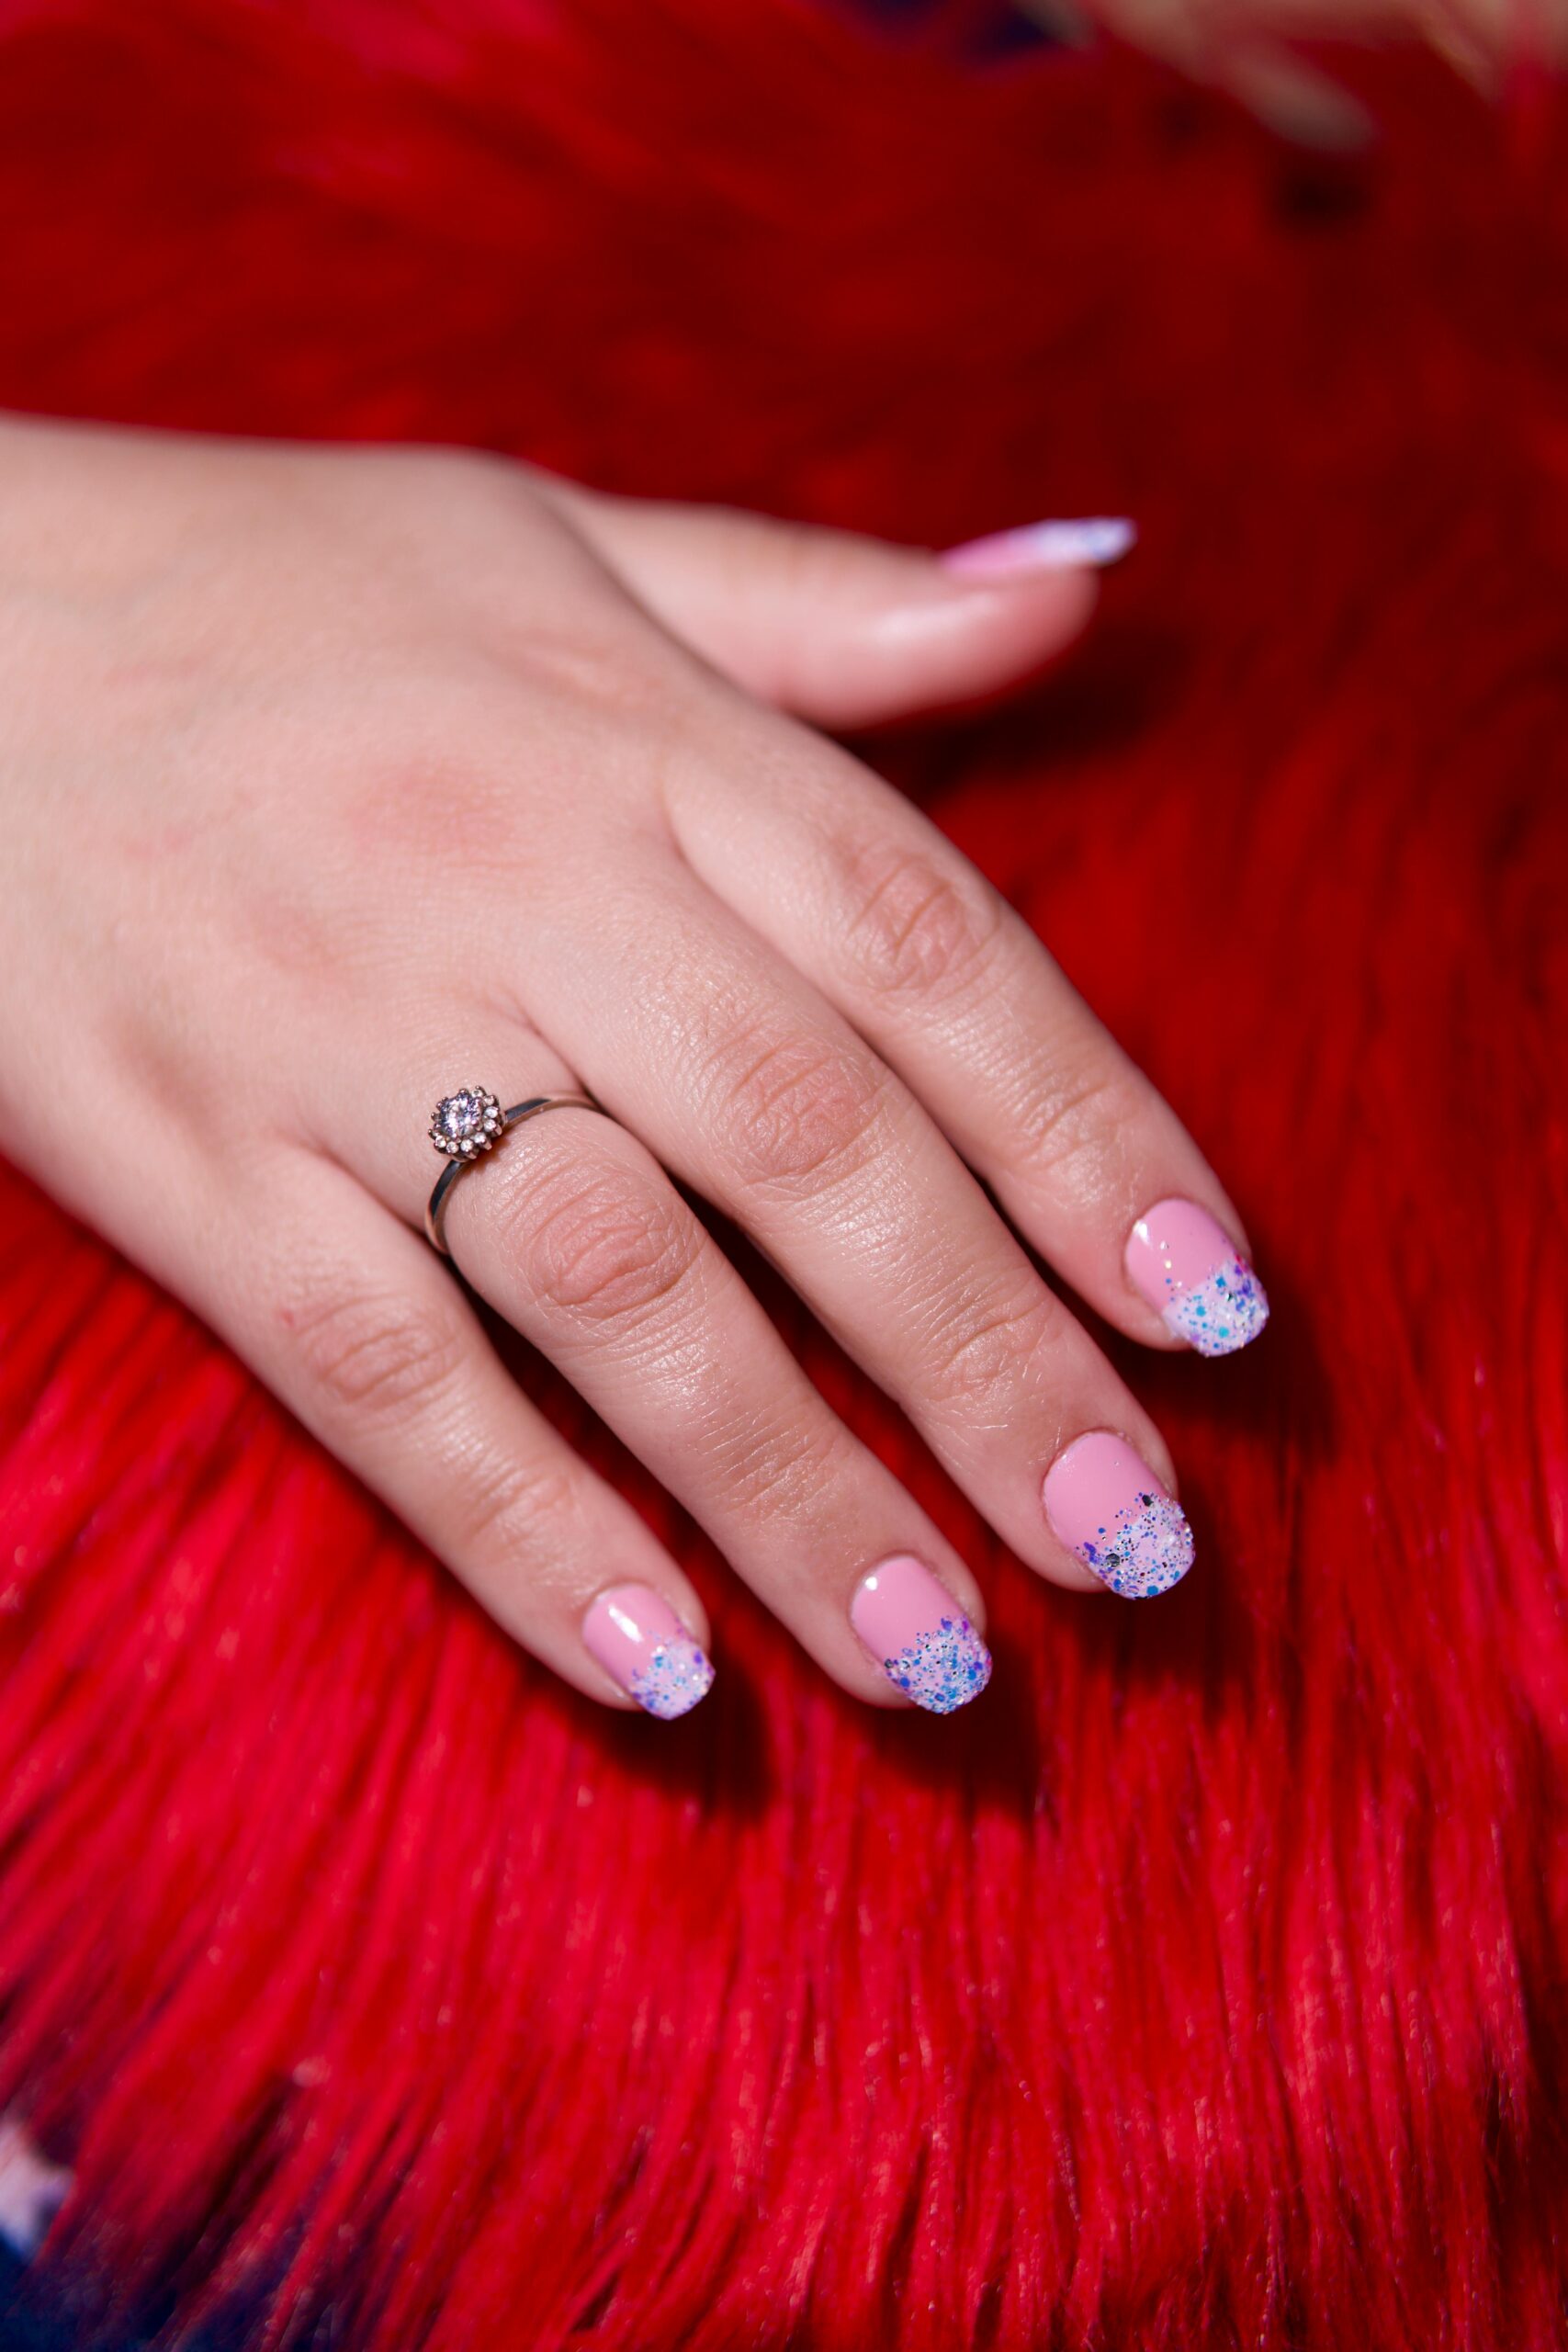
Idea 3: Red Christmas French (Level: Easy)
The French manicure is a timeless classic and just add a bit of red to transform it into the perfect Christmas version.
How to Do It:
- Base coat.
- Two coats of nude or milky white.
- Red tips (use tape if you're afraid of messing up the line).
- Final top coat.
Christmas Variations:
- Glitter French: gold or silver tips.
- Green French: a deep forest green instead of red.
- Multicolor French: each finger a different color (red, green, gold...).
Tip for the Tip: a piece of low-tack tape positioned where you want to draw the tip will help you a lot. Remove it while the polish is still fresh.
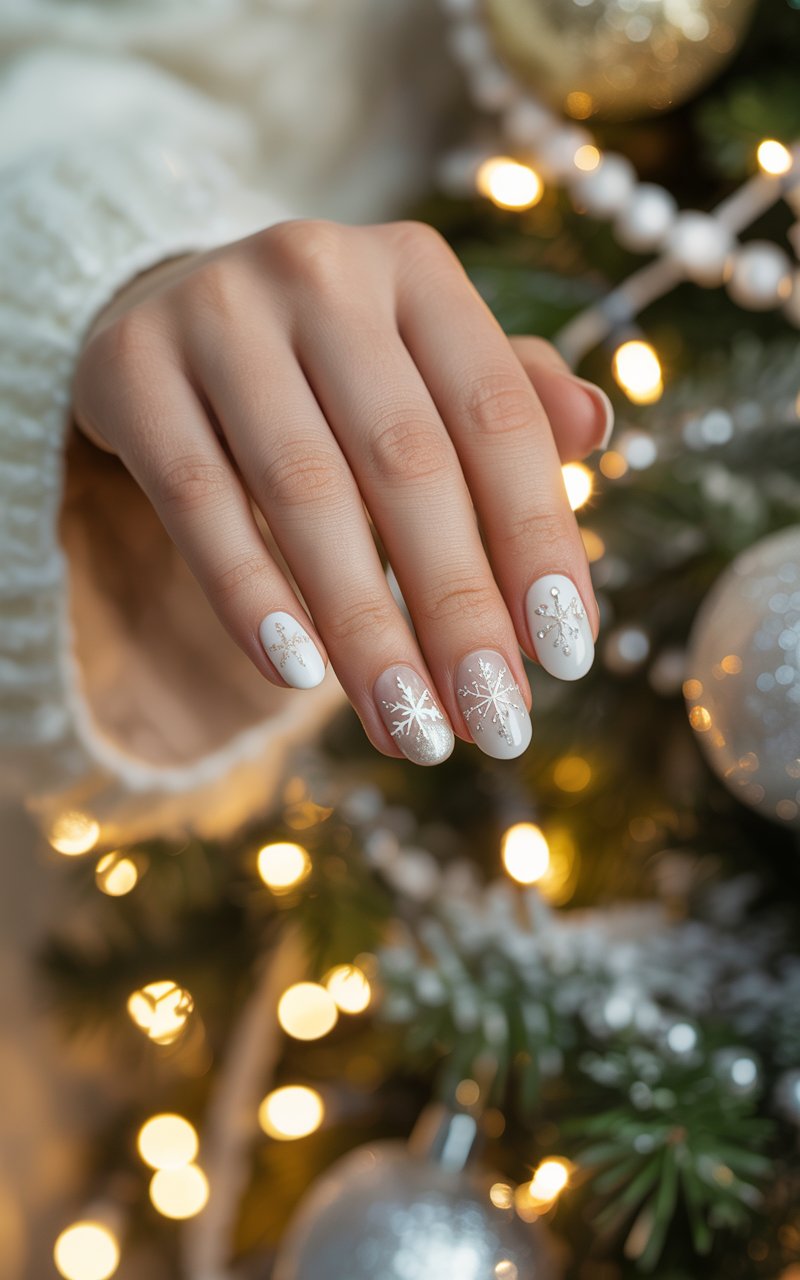
Idea 4: Simple Snowflakes on Nude Base (Level: Easy-Medium)
Snowflakes immediately say winter, and surprisingly they're not that hard to draw.
How to Do It:
- Base coat + two coats of nude or white.
- With a dotting tool (or toothpick), make a dot in the center of the nail.
- From the dot, draw six thin lines to form a kind of little star.
- Add other small details and dots around it.
- Final top coat.
If You Want to Simplify: skip the snowflakes and just do scattered white dots. Instant snow effect and super cute.
Tip: try the design on paper first, so you get the hang of the brush movements.
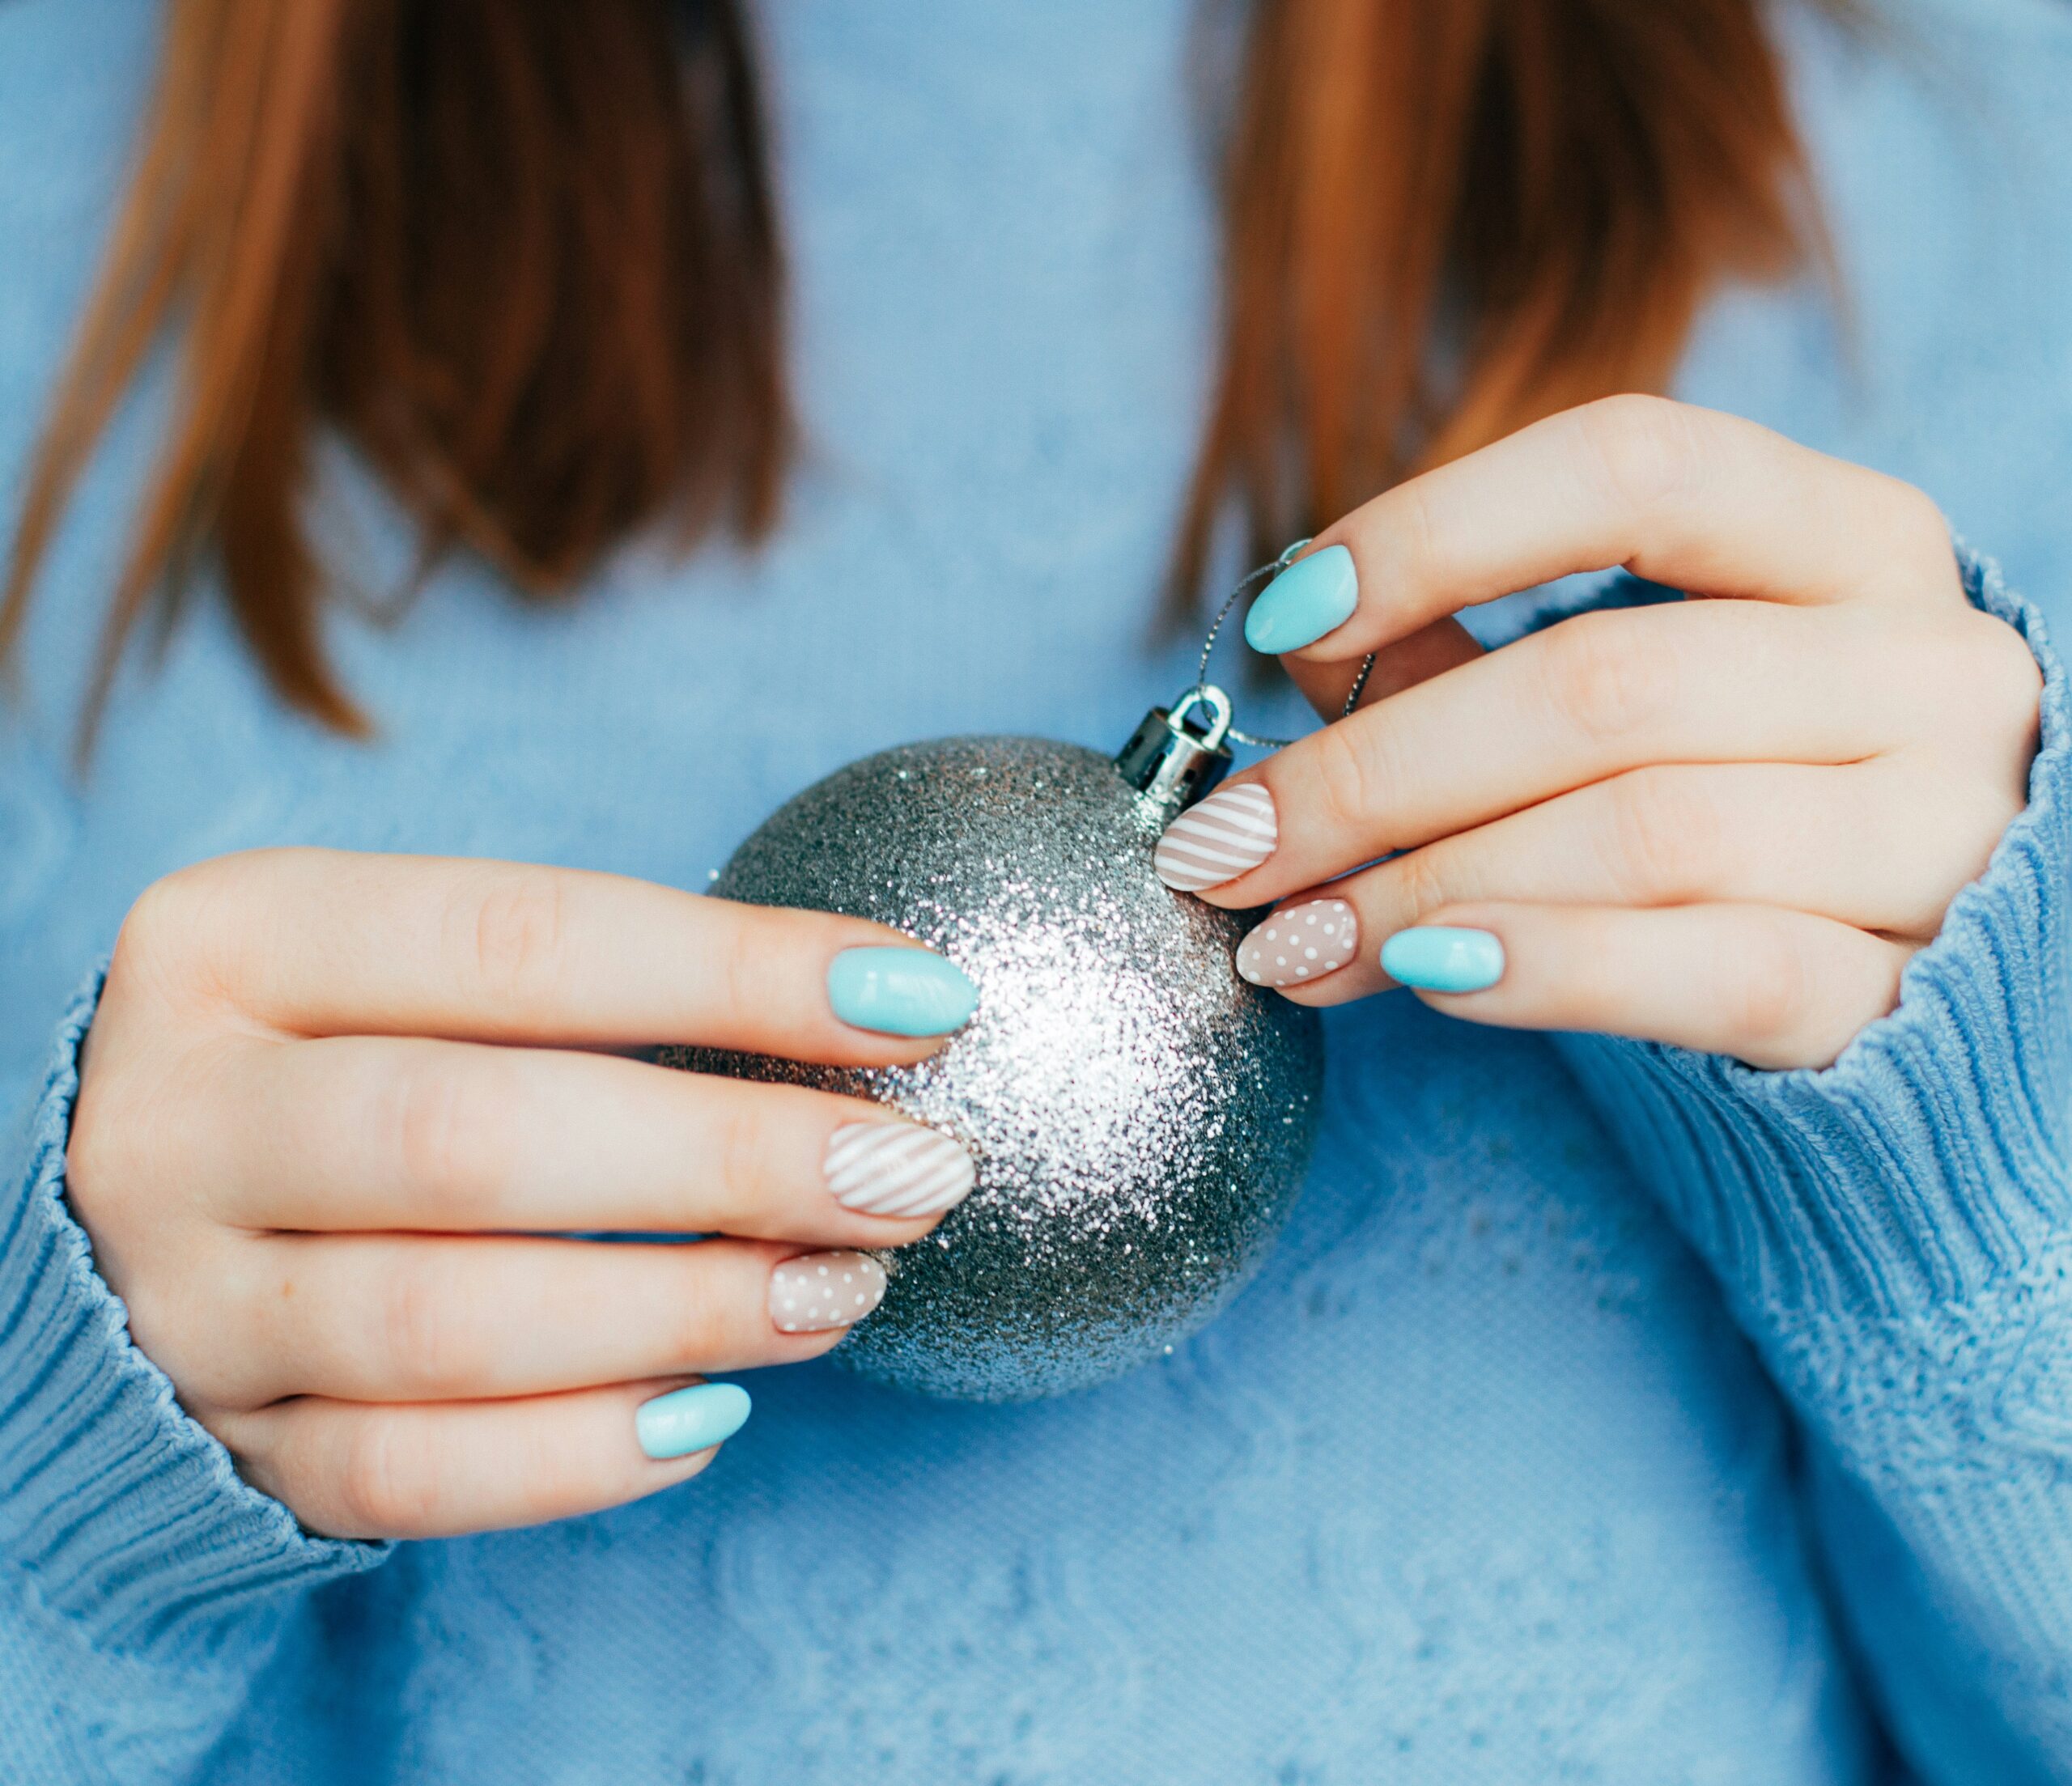
Idea 5: Candy Cane (Red and White Stripes) – Level: Easy-Medium
Red and white stripes immediately remind you of Christmas candy and give a cheerful, playful vibe.
How to Do It:
- Base coat.
- Two coats of white.
- With a thin brush, draw diagonal red stripes.
- Leave white spaces between each stripe.
- Top coat.
Fun Variations:
- Only two candy cane nails and the others nude.
- Some red-silver stripes.
- A touch of glitter on the edges of the stripes.
Why It's Ideal for Beginners: you don't need absolute precision. Even with slightly crooked lines, the effect is still super festive.
Idea 6: Jewel Nails with Rhinestones (Level: Easy-Medium)
Perfect for those who love to sparkle during the holidays. Just one more decorated nail creates a "wow" effect.
How to Do It:
- Base coat.
- Dark polish on the ring finger (burgundy, black, forest green, or navy blue).
- Apply a bit of nail art glue or clear gel.
- Position the rhinestones as you prefer.
- Seal with top coat.
Design Ideas:
- A frame of rhinestones around the nail.
- Rhinestones positioned like a jeweled French.
- A central cluster.
- "Galaxy" effect with scattered rhinestones.
If You Don't Have Rhinestones: chunky glitter, small beads, even tiny pieces of foil work great.
Idea 7: Minimal Christmas Nail Art (Level: Easy-Medium)
Perfect for those who love clean, modern style. Very little is needed for a chic result.
How to Do It:
- Base coat + nude.
- With a thin brush, draw small elements:
- a little star
- a gold or red line
- a mini heart
- a simple dot
- Finish with top coat.
Why People Love It: it's elegant, not over the top, and works in any context – from work to Christmas dinner.
Tip: don't decorate all nails. One or two are more than enough for a balanced look.
Simple Christmas Nails for Beginners: Practical Tips
If it's your first time with DIY nail art, don't worry: with a few tips you can avoid a lot of frustration. Here are the most useful tips to start off on the right foot.
1. Start with the Simplest Designs
Don't jump straight into complicated decorations: you'll only risk getting frustrated. Start with classic red, nude with glitter, or a classic French. When you gain some confidence, you can experiment with something more elaborate.
2. Stickers and Decals? Absolutely Yes
It's not "cheating" at all. Christmas stickers are used by professionals too, and they're perfect if you don't feel confident drawing by hand. Just choose good quality ones for a clean and precise result.
3. Choose a Good Top Coat
Really: it changes everything. A good top coat can make your manicure last two weeks instead of three days. It's worth investing a little in it.
4. Preparation Makes the Difference
Even the most beautiful design won't hold if the nail isn't properly prepared. Take a few minutes to file, buff, and degrease carefully. It's the foundation of everything.
5. Patience Between Coats
Yes, it's hard to wait... but it's necessary. If you apply the next coat too soon, you risk ruining everything. Wait 5-10 minutes between each application, and if you're in a hurry, use a cold dryer.
6. Don't Aim for Absolute Perfection
Accept that something might not be perfect. Small imperfections add character and make the manicure more "real". Sometimes slight smudges are even part of the charm.
How to Make Your Christmas Manicure Last Longer
During the Day
- Wear gloves for cleaning
- Don't use your nails as tools
- Moisturize your hands
Every Two Days
- Add a layer of top coat
- Fix small defects immediately
If There's Obvious Damage
Remove and start over: better to redo than to fix poorly.
Ready to Enjoy the Holidays in Style?
Your festive nails are just the beginning of a beautiful holiday season!
Conclusion: Start Your Little Christmas Ritual
Simple Christmas nails are a way to give yourself a moment of calm and creativity during a period full of rushing and commitments. You don't need to be perfect or create complicated things: what matters is having fun.
Whether you choose classic red, nude with glitter, or a minimal snowflake, the important thing is that you enjoy looking at your hands while you enjoy this magical season.
Now it's your turn: get out your nail polish and start.
Merry Christmas and happy manicuring!